If you love makeup, cosmetics and looking awesome in general, then why not Start a Beauty Blog like this one?
Facebook, Instagram and Youtube are great, but it’s important that you have your own private spot on the Internet to promote your work. Having your own Beauty Blog under your own name/brand gives you more of a professional online presence.
Don’t wait! Today is the day to start a Beauty Blog!
It’ll only take you 15 minutes to go from zero to beauty blogger extraordinaire. Even if you know nothing about servers, hosting, domains or all that other boring stuff, it doesn’t matter. I’ll show you How to Start a Beauty Blog in under 15 minutes – it’s easy!
HOW TO START A BEAUTY BLOG
Just 3 steps to having your own Beauty Blog
1. Domain Name and Hosting
2. WordPress installation
3. Make it look awesome!
Let’s get started.
1. Domain Name and Hosting
This is the fun part – choose a name for your site! There are 2 schools of thought here. One is to use one of the keywords (main topics) of your site in the name, such as ‘makeup’ or ‘beauty’. The other is to just use your name, or your brand.
My advice – do both! So for example, JaneSmithMakeup.com or JaneSmithBeauty.com
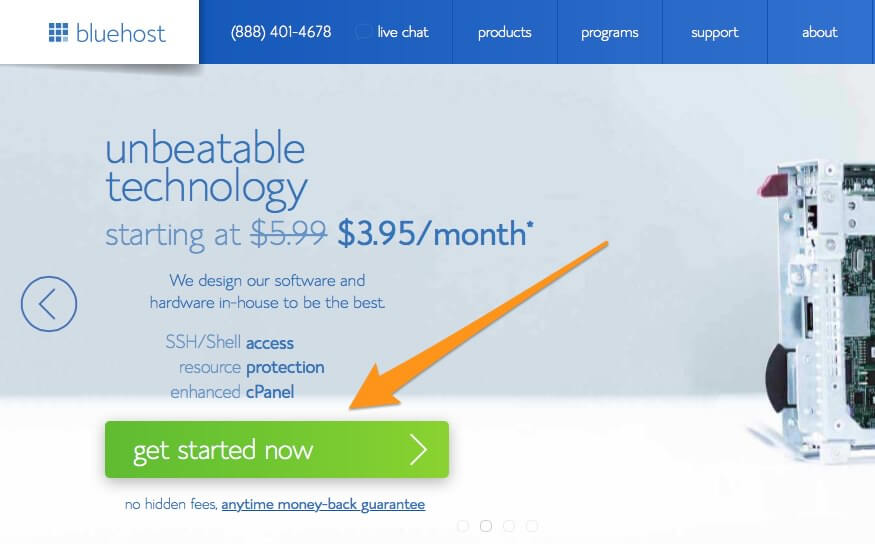
You get the idea! Once you’ve thought of some possible names, click here for the Bluehost homepage, then click the Get Started Now button.
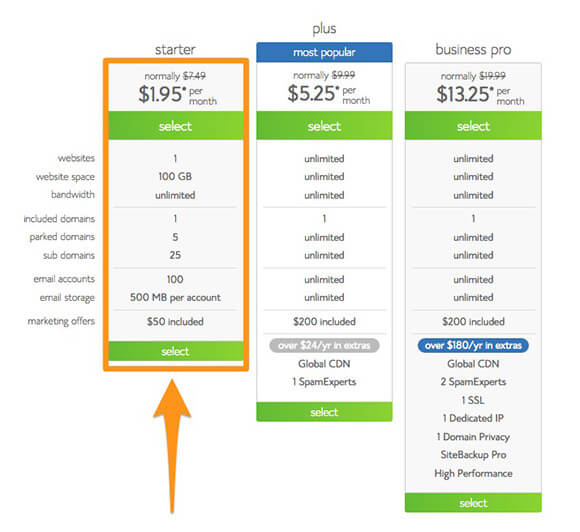
On the next screen you’ll need to pick a plan. I recommend choosing the Starter Plan which is best value. Make sure you pay it in one lump sum instead of monthly as it’ll save you quite a bit of cash ;-)
The ‘Starter 36 Month Price‘ option is the cheapest in the long run which is why I always choose it, and it also means you won’t need to remember to renew your site after only 1 year.
Now for the Hosting. This basically means renting a little spot on the web to house your blog. I recommend the hosting company Bluehost as they have the best rates, awesome service, and they also give you $50 in free Facebook or Google ads credit and a free domain name!
With Bluehost, I just found that it’s the best value overall.
Here is what I use when I choose the Package Information:
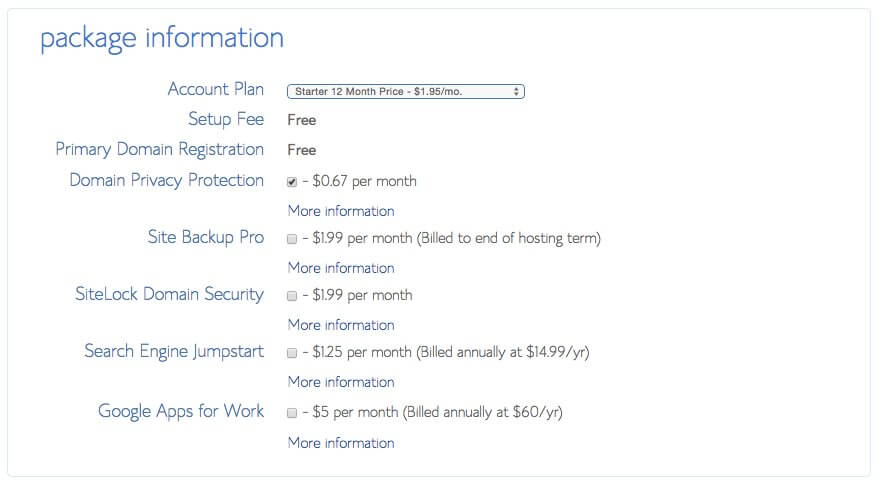
I always opt for Domain Privacy Protection, which hides your personal info from the public.
2. WordPress Installation
WordPress is the most awesome blogging software there is. It’s super easy to use, customisable and free! Millions of sites on the Internet use WordPress, so you’ll be in good company ;-)
Thanks to Bluehost’s free site builder, installing WordPress is super simple!
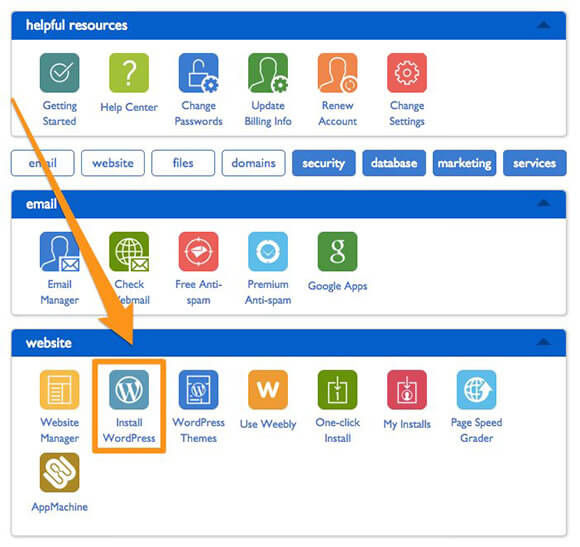
After you’ve signed up with Bluehost, log in, then look for the ‘website’ section. Click the ‘Install WordPress’ button.
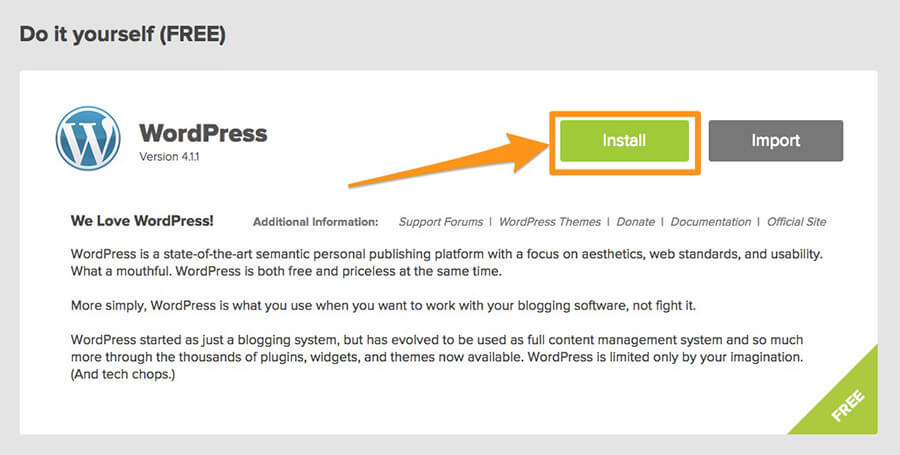
On the next page, click the green ‘Install’ button.
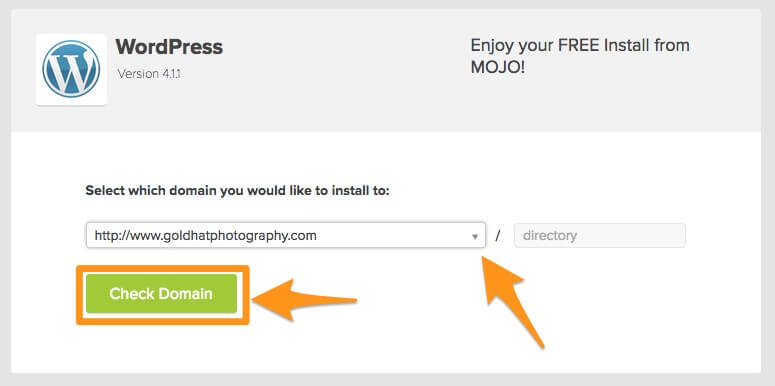
Then on the next page, if your domain name isn’t already highlighted in the dropdown menu, click it and select your domain. Then click the green ‘Check Domain’ button.
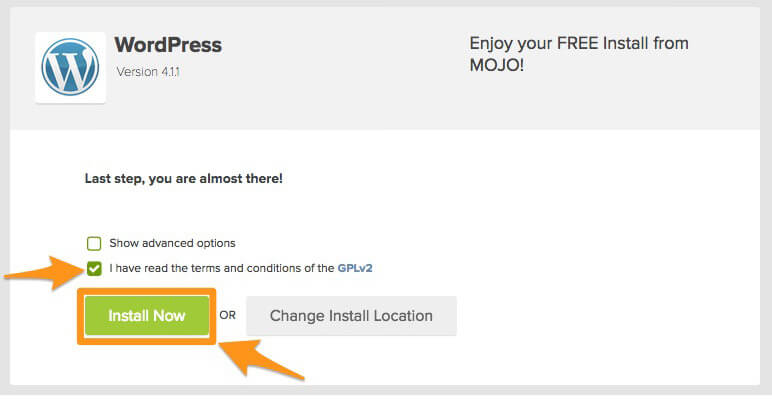
Check the Terms and Conditions box and then click the green ‘Install Now’ button.
Now just make a note of your Admin UR, Username and Password. WordPress will also email this to you. You can change the details later, but you’ll need it initially to log in to your site.
Next you’ll have to type that ‘Admin URL’ into your Internet browser. You’ll see a login screen like the one below, so enter your Username and Password you copied down from the previous step.
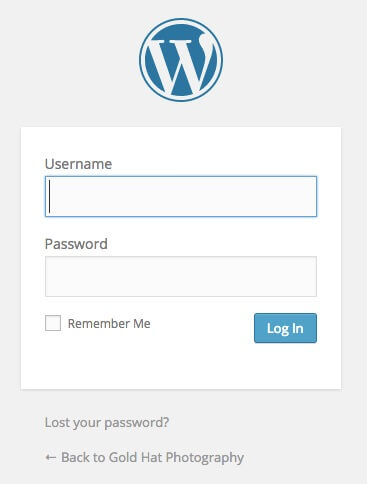
Congratulations! You now have a WordPress site!!
3. Making it look Awesome!
Every WordPress site has a theme. Think of WordPress ‘themes’ as the outer skin which makes your site look pretty and displays the content.
Here’s a great list of WordPress photography themes that’ll make your site look very professional in a few clicks. I always recommend spending a few bucks on a Premium Theme rather than opting for a Free Theme.
There are 2 reasons for this: 1. the Premium Themes have excellent, free support which is invaluable, especially if you are new to WordPress. 2. It’ll mean your site is custom, rather than looking like lots of other site which use Free Themes.
Trust me on this one – you’ve saved a lot by using Bluehost, so just go that bit extra and get an awesome Premium Theme – the free lifetime support alone makes this so worth it.
4. Recommended Plugins
This is an extra step that you may want to come back to when you’ve had a bit of a play around in WordPress.
A ‘plugin’ is a way to add to the functionality that already exists in your WordPress site. Using plugins can make your WordPress site more manageable, faster and just better overall.
All the cool things on Shimmerkit you can see – the Instagram widget in the sidebar, the newsletter sign up boxes, the animations – those are all free plugins.
Sign up to the free Shimmerkit Newsletter below to get my list of 10 Recommended WordPress plugins to make your new beauty site really sing!
[wysija_form id=”5″]Disclaimer: Some of the links above are affiliate links. I use all the services mentioned in this post on a daily basis and love them, which is why I recommend them to you. Any small commission I make if you click on the links does not affect you in any way, and I am grateful for your support to help keep Shimmerkit running :-)
Join the Shimmerkit Community
BEAUTY TIPS IN YOUR INBOX!
Sign up for the Shimmerkit Newsletter for exclusive content.